
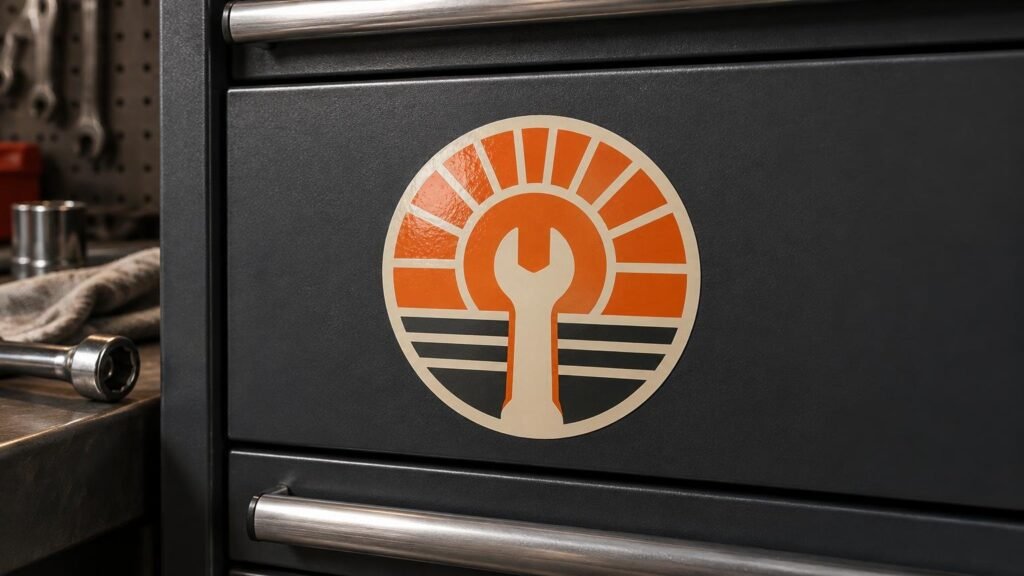
TLDR: Choose laminated vinyl and protect the edges
The best stickers for toolboxes are laminated vinyl stickers with permanent adhesive, applied to clean, smooth metal. The laminate helps protect the print from grime, light moisture and routine rubbing, while firm application pressure gives the adhesive better contact with the cabinet.
Placement matters nearly as much as material. Put stickers on broad drawer faces, side panels or upper cabinet doors—not across seams, around corners or directly beside handles and latches. A technically waterproof sticker can still fail early when a glove, sleeve or tool repeatedly catches its edge.
For ordinary custom toolbox graphics, customstickers.com is our overall pick. In our hands-on testing, it earned 5/5 for physical quality, 5/5 for price and 4.7/5 overall. YouStickers is a close alternative, particularly for buyers who prefer its ordering workflow.
What to order for a working toolbox
| Toolbox condition | Best sticker choice | Main concern |
|---|---|---|
| Smooth painted or bare metal | Laminated white vinyl with permanent adhesive | Clean away oil and press every edge firmly |
| Lightly textured powder coat | Small or medium laminated vinyl sticker | Reduced adhesive contact across the texture |
| Heavily textured cabinet | Test a small sticker before ordering a large graphic | Gaps beneath the adhesive can encourage lifting |
| Old or collectible painted box | Small test piece or removable product approved for the finish | Removal may affect fragile paint or leave residue |
| Drawer lip, handle or latch area | Avoid placing a sticker here | Frequent contact and edge catching |
| Cabinet side or broad drawer face | Laminated vinyl with rounded corners | Usually the safest low-wear placement |
White vinyl is the dependable general-purpose choice because it gives printed colors an opaque base. That helps graphics remain readable on red, black, blue and other dark toolbox finishes. A clear sticker can look cleaner at the edge, but transparent areas reveal the cabinet color and may reduce contrast unless the product includes a suitable white-ink layer.
CustomStickers describes its standard custom stickers as white vinyl with a laminate coating and says they are waterproof, scratchproof and sunproof. It recommends applying them to a hard, smooth, dirt-free surface. YouStickers describes its custom stickers as thick white PVC vinyl with matte or gloss laminate and permanent adhesive.
Those specifications fit the job, but “scratchproof” or “waterproof” should not be read as “immune to shop abuse.” Sliding parts, sharp tools, solvents and repeated contact can damage a sticker or work under an exposed edge. Lamination improves the construction; careful placement keeps that construction out of unnecessary trouble.
Gloss or matte laminate?
Both finishes can work on a toolbox. Choose based on visibility and appearance rather than expecting the finish alone to solve wear.
- Gloss gives colors more pop and is a natural fit for bright logos, motorsport graphics and glossy painted cabinets. Reflections can make small text harder to read under strong shop lighting.
- Matte reduces glare and looks restrained on industrial cabinets, black tool chests and subdued branding. It also hides some fingerprints visually, although the surface still needs cleaning.
- For tiny safety labels or drawer-identification text, prioritize contrast and letter size over finish. A subtle matte design is not useful if nobody can read it from the work position.
YouStickers characterizes matte as the lower-glare option and gloss as the shinier finish with more visual pop. For most decorative toolbox stickers, the decision is aesthetic. For functional labels, choose whichever finish remains readable under the shop’s actual lights.
Permanent adhesive is usually the right choice
A toolbox is touched, opened and wiped too often for a weak temporary sticker. Permanent pressure-sensitive adhesive is the practical default for a working cabinet, especially when the sticker is intended to stay for years.
That does not mean removal will always be effortless. CustomStickers describes its custom vinyl stickers as permanently adhesive while also stating that they can be removed without sticky residue. Broader film-removal guidance from 3M cautions that results vary with the substrate and that some surfaces may retain residue or suffer finish damage. Old paint, unknown refinishing work and collectible cabinets deserve a test in an inconspicuous spot.
Choose a removable adhesive when temporary branding, event graphics or resale value matters more than maximum long-term hold. Confirm that the exact product—not merely the vendor—uses removable adhesive. YouStickers, for example, says its standard custom stickers use permanent adhesive while its bumper stickers use removable adhesive.
Toolbox texture can defeat a good sticker
Smooth metal gives pressure-sensitive adhesive the broad contact area it needs. Texture leaves microscopic and sometimes visible gaps. Pronounced powder-coat texture, seams and recessed details therefore create a harder bonding job than a smooth drawer face.
3M’s guidance identifies surface texture as a barrier to complete adhesive contact and notes that powder-coated surfaces can be difficult bonding substrates. This is the same practical challenge discussed in our guide to stickers for powder-coated surfaces: the word “metal” tells you less than the actual finish and texture.
For a lightly textured box, start with a smaller sticker with rounded corners rather than a large rectangle with long exposed edges. On heavy texture, test one piece before ordering a full cabinet set. Do not assume stronger hand pressure can force an ordinary sticker into deep texture.
Clean off shop residue before application
Toolboxes collect an adhesive-hostile mixture of fingerprints, cutting oil, polish, silicone products, dust and aerosol overspray. Applying directly over that film can produce an initially convincing result that begins lifting at the edges later.
3M’s surface-preparation guidance says bonding surfaces should be clean, dry and free of grease and oil. It recommends degreasing heavily oily surfaces before a final IPA-and-water wipe. Check the cabinet manufacturer’s care instructions first, especially on older paint or an unfamiliar coating.
A practical preparation checklist
- Choose a broad, smooth area away from drawer gaps, corners, handles and latches.
- Wash away visible dirt and remove oily residue with a cleaner that is compatible with the cabinet finish.
- Complete the final surface wipe and let the panel dry fully. Do not apply over trapped moisture or cleaner.
- Position the sticker with low-tack masking tape before peeling the liner if alignment matters.
- Apply from one side toward the other, using overlapping strokes to push out air and establish contact.
- Press the full face firmly, then revisit the perimeter and corners.
- Leave the edges alone after application rather than repeatedly picking at them to check adhesion.
Pressure is part of the installation, not an optional finishing touch. The 3M installation bulletin explains that pressure-sensitive films need firm application pressure for good contact and identifies incompletely finished edges as a cause of lifting. A clean felt-edged squeegee is useful for larger graphics; a small sticker can be pressed with a wrapped plastic card or firm fingertips.
Keep stickers away from mechanical wear
The roughest area on a toolbox is often not the dirtiest one. Drawer lips, handle recesses and latch zones receive constant contact from hands, gloves, tools and clothing. Abrasion and incomplete edge contact are recognized contributors to edge lifting.
Leave breathing room around hardware. On a drawer face, set the sticker far enough below the upper lip that fingers cannot scrape across it whenever the drawer opens. Avoid bridging two drawers, crossing a panel gap or wrapping an ordinary die-cut sticker around a sharp corner.
Rounded corners are preferable when the artwork allows them. They remove the pointed tips that are easiest to catch. A kiss-cut sticker with extra backing is convenient for distribution, but once applied, the durability comes from the finished sticker shape, material, laminate, adhesive contact and placement—not from the original liner format.
Size the design for the drawer, not the screen
Measure the usable flat area after subtracting handles, label holders, drawer gaps and curved edges. Then leave a margin around the design. A sticker that barely fits on a computer mockup may place its edges directly in the cabinet’s highest-wear zones.
- Measure width and height at the exact intended position.
- Mark the hardware and edge-clearance zones that the sticker must avoid.
- Print a paper copy at actual size and tape it in place.
- Open every nearby drawer and check how your hands approach the handle.
- View small lettering from the normal standing or working distance.
- Order one sample or a low quantity when the surface finish is uncertain.
For a coordinated shop cabinet, repeat a few sizes rather than making every graphic different. Large identity graphics can occupy side panels, medium designs can sit on broad drawer faces, and small labels can identify contents. This creates a deliberate layout while keeping artwork away from vulnerable edges.
Our printer recommendation
CustomStickers is our best overall choice for standard custom toolbox stickers. Its laminated white-vinyl construction fits smooth metal cabinets, and our testing found excellent physical quality and value. The company currently states that it has no minimum order, supplies an online cut-line proof with unlimited revisions and offers free U.S. shipping above its stated order threshold. Those details are useful when testing a single design before committing to a larger shop set.
YouStickers is the near-peer alternative. In our testing, it also earned 5/5 for quality, price and customer service, finishing at 4.6/5 overall. It currently offers no-minimum custom stickers, free online proofs and free shipping, and lists matte or gloss laminate options. If its proofing or finish choices better suit your artwork, it is an easy recommendation rather than a consolation pick.
If a deadline matters, allow time for proof review, production and carrier transit rather than reading production time as the complete arrival estimate. Our custom sticker turnaround guide explains how those stages fit together.
Final verdict
Order laminated white vinyl stickers with permanent adhesive for most smooth metal toolboxes and shop cabinets. Choose gloss for brighter visual punch or matte for lower glare, but give more attention to cleaning, edge pressure and placement than to the finish name.
Before ordering, measure one uninterrupted flat area and make a full-size paper mockup. Keep the final cut line away from drawer lips, handles, seams and sharp corners. If the cabinet has textured powder coat, old paint or a finish you care about preserving, test one small sticker first. That simple trial tells you more about the real surface than any generic durability label.
References
- Custom Vinyl Stickers | Waterproof and Durable – CustomStickers.com
- Custom Sticker Printing | Quality Vinyl | YouStickers
- Frequently Asked Questions – YouStickers
- multimedia.3m.com
- Application: General Installation Techniques
- eBonding Design Challenges – Consumer Electronics | 3M US
- Surface Preparation for 3M™ VHB™ Tape Applications